Introduction
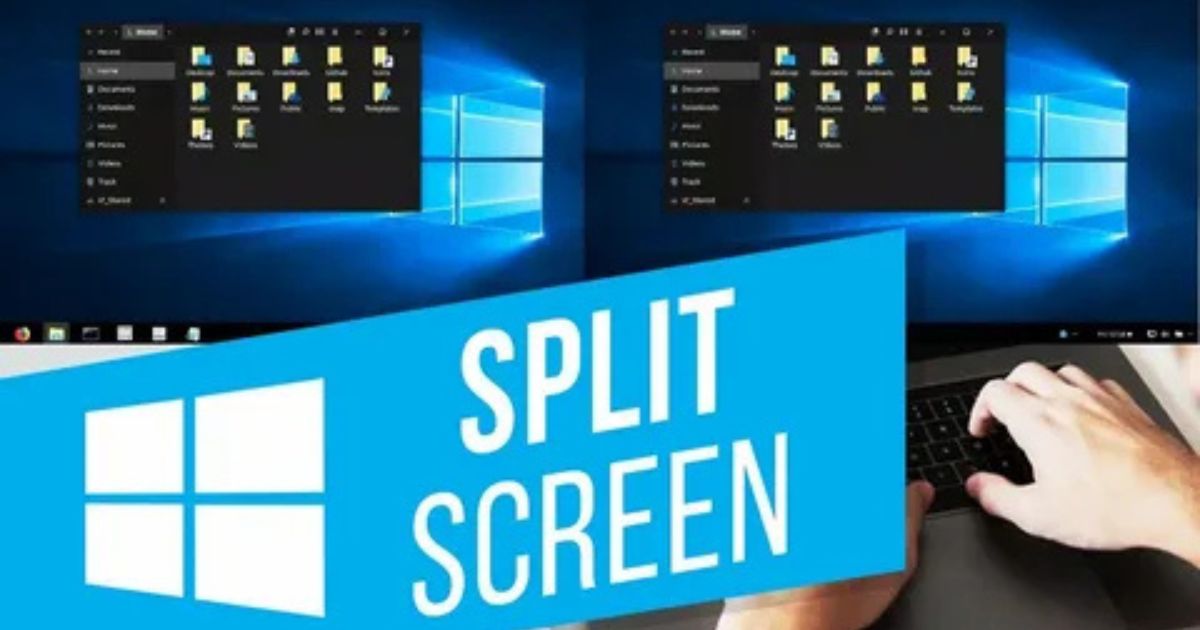
In today’s multitasking world, knowing how to split a laptop screen can significantly enhance productivity. Whether you’re working, studying, or simply managing multiple applications, splitting your screen allows you to view and use two or more windows simultaneously. This guide will walk you through the process, step by step, to help you make the most of your laptop’s screen.
Why Split Your Laptop Screen?
Splitting a laptop screen provides several benefits, including:
- Boosted Productivity: You can work on multiple tasks without constantly switching between tabs or windows.
- Better Organization: It’s easier to compare data, read while taking notes, or follow instructions in real time.
- Convenience: Ideal for remote work, online learning, or creative projects.
How to Split a Laptop Screen in Windows
Microsoft Windows provides built-in tools to split your screen. Here’s how to do it:
Using Snap Assist (Windows 10 and 11)
- Open Your Applications: Launch the apps or windows you want to work with.
- Drag and Drop: Click on the title bar of one window, drag it to the left or right edge of the screen, and release it.
- Select Another Window: Snap Assist will automatically show thumbnails of your other open windows. Click on the one you want to use in the remaining space.
Using Keyboard Shortcuts
- Press Windows + Left Arrow to snap the current window to the left.
- Press Windows + Right Arrow to snap the window to the right.
- To divide the screen into quarters, press Windows + Up Arrow or Windows + Down Arrow after snapping to the left or right.
Adjusting the Split Screen
- Hover your mouse over the dividing line between the two windows.
- Click and drag to adjust the size of each window as needed.
How to Split a Laptop Screen on macOS
Mac users can use the Split View feature for a seamless multitasking experience.
Using Split View
- Open Applications: Start the apps you want to use.
- Activate Split View:
- Click and hold the green full-screen button in the top-left corner of a window.
- Select “Tile Window to Left of Screen” or “Tile Window to Right of Screen.”
- Choose the Second App: Click on the second app you want to display on the opposite side.
Exiting Split View
- Move your mouse to the top of the screen until the window controls reappear.
- Click the green full-screen button again.
How to Split a Screen Using Third-Party Tools
If the built-in features don’t meet your needs, third-party apps can offer additional functionality.
Popular Tools for Screen Splitting
- DisplayFusion: Ideal for managing multiple windows with customizable settings.
- GridMove: Helps organize your screen into grids for precise window placement.
- Divvy: Allows you to resize and position windows using quick shortcuts.
Simply download the tool, follow the installation instructions, and customize your screen layout as per your preferences.
Tips for an Efficient Split-Screen Experience
- Use a Larger Display: If your laptop screen feels too small, connect an external monitor for more space.
- Organize Your Tasks: Open only the necessary applications to avoid clutter.
- Learn Shortcuts: Familiarize yourself with keyboard shortcuts to save time.
- Adjust Display Settings: Change your display resolution or scaling for better visibility.
Common Issues and Troubleshooting
While splitting your laptop screen is straightforward, you might face some challenges:
Issue 1: Snap Assist Isn’t Working (Windows)
- Ensure Snap Assist is enabled in Settings:
- Go to Settings > System > Multitasking and toggle on “Snap windows.”
Issue 2: Can’t Find Split View on macOS
- Check your macOS version. Split View is available on macOS El Capitan (10.11) and later.
Issue 3: Limited Functionality on Older Laptops
- Older systems may lack advanced multitasking features. Use lightweight third-party tools as an alternative.
FAQs about How to Split a Laptop Screen
1. Can I split my screen into more than two sections?
Yes, on Windows, you can split your screen into four sections by using keyboard shortcuts.
2. Is screen splitting available on all laptops?
Most modern laptops support screen splitting, but older systems may have limited functionality.
3. Can I split the screen on a Chromebook?
Yes, use the Alt + [ and Alt + ] shortcuts to snap windows to the left or right.
4. What if my Snap Assist isn’t working on Windows?
Ensure Snap Assist is enabled under Settings > System > Multitasking and restart your laptop if necessary.
5. Are there any free tools for screen splitting?
Yes, tools like GridMove and Divvy offer free versions with basic features for splitting your screen.
Conclusion
Learning how to split a laptop screen is a valuable skill for improving workflow and managing tasks efficiently. Whether you’re a Windows or macOS user, the built-in features and third-party tools make multitasking easier than ever. Practice these methods, and you’ll master screen splitting in no time.


